

One of my favorite discoveries of the week was finding the blog The Crafty Crow. How is it that I am just now discovering this blog? Hundreds of amazing craft ideas for the kids that will keep them busy until they're too old to want to do them! To continue on with our study of winter, AG and I decided to craft up these super easy Paper Roll Poinsettias to add to her nature corner! Here's how we made them.
What you will need:
- Round coffee filters
- Red acrylic paint
- A paintbrush
- Cardboard toilet paper or paper towel rolls
- Scissors
- Glue (You will see that I used a hot glue gun. This will work too. I only went this route because we were out of glue!
- String to hang
How to make them:
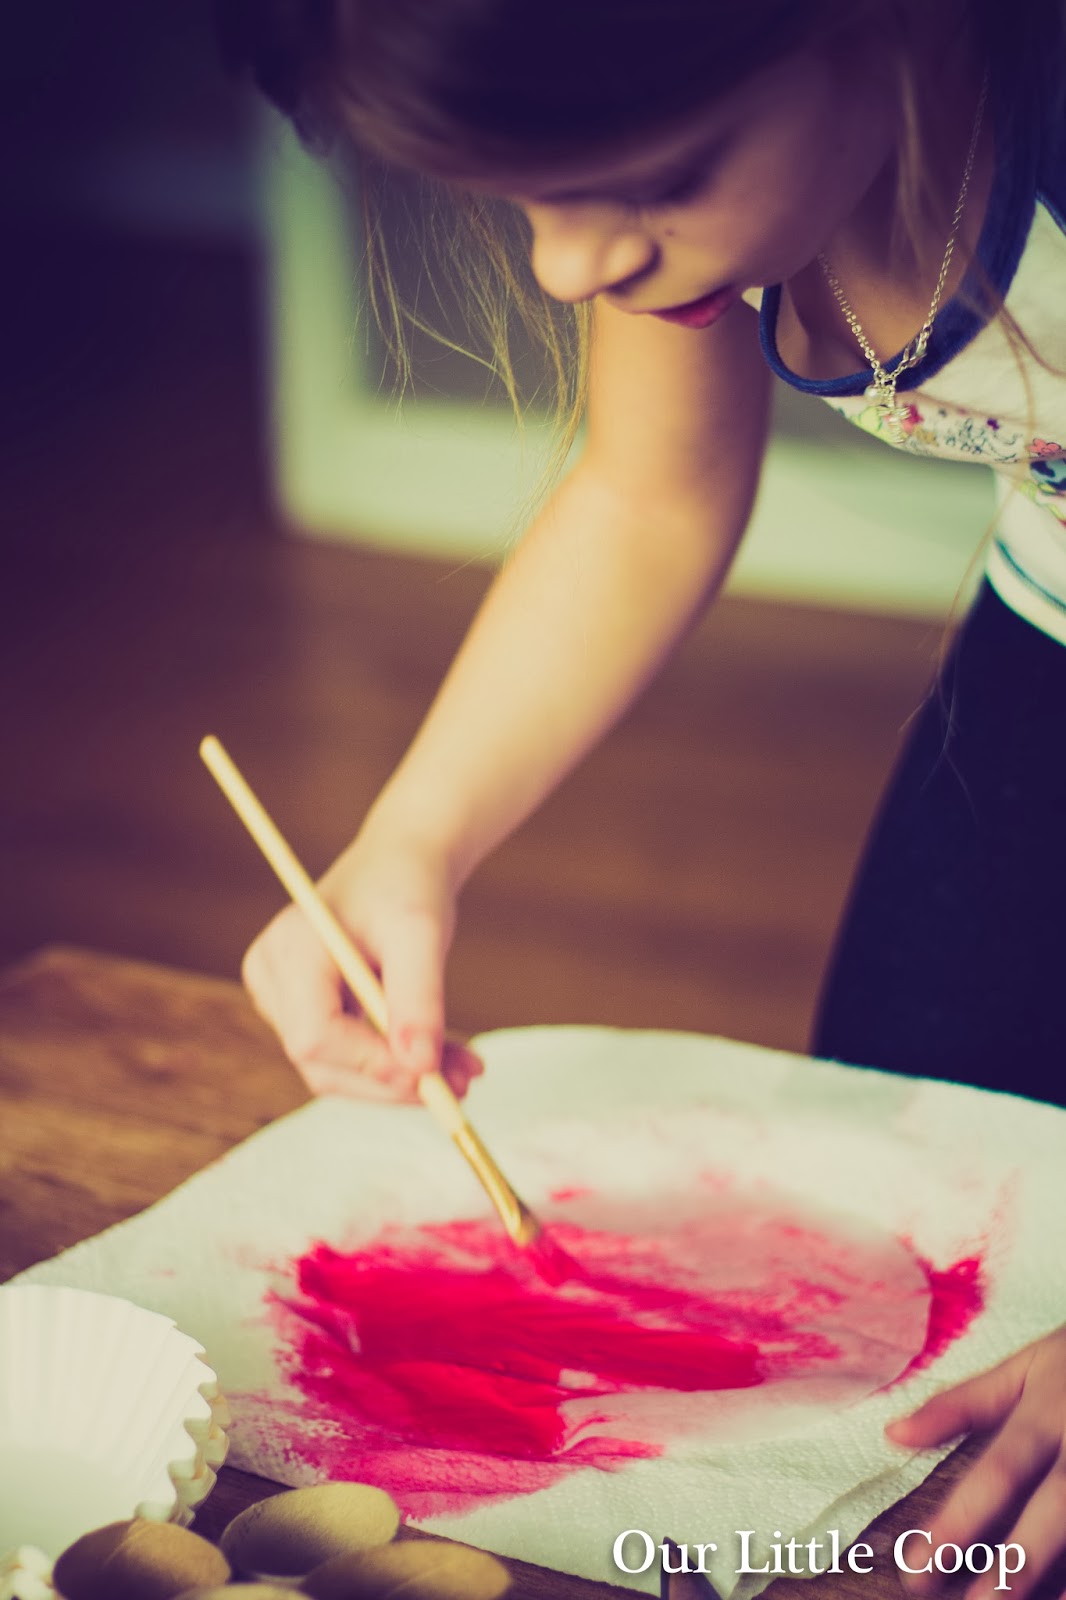
- Start by painting your coffee filters red. Because you want the filters to be somewhat transparent, we dipped the filters in water, wet our brushes and then painted the filters. We used two filters for three flowers just to give you an idea of how many to paint. Set aside and allow to dry.
- Next, paint the inside and outside of your cardboard rolls red. Start by cutting them in half so that it is easier to reach the inside the tubes. Once they are painted set them aside and allow to dry.


- Once your painted filters and cardboard rolls are dry, press the cardboard rolls flat and cut them into half inch slices.
- Dip the cardboard slices in glue and stick them to the coffee filters. Once they have dried, cut them out trimming away all extra paper.


- Glue the slices (petals) together! Again, I used a hot glue gun so this process went rather quickly. If you do use glue, you might need to use clothespins to keep the petals together while they dry.


- Thread fishing line or thread through the back of one of the petals and you're all set to hang!


No comments :
Post a Comment
Thank you for your comment!