Thursday, September 11, 2014

Consonant Blends With Candy Land


We have a very reluctant little reader in our house who I always approach with great caution when it comes to her reading.  She loves to be read to and will sit for hours upon hours while I read her a chapter book,  but she instantly clams up and shuts down when she is the one asked to do the reading (even though she can). Usually I come up with creative ways to make our reading time and practice  more fun and to help lessen her anxiety.  This consonant blend Candy Land game was awesome and she really enjoyed playing it! If you are using the Oak Meadow Second Grade Curriculum, these are the blends that you will be asked to review.

First, print the tiles for your game cards HERE   

I apologize in advance, sizing documents properly in word programs is so not my thing,  so please check to make sure it is the right size before you print.  I originally sized this document to fit on a 3x5 index card but the cards would not feed through my printer,  so for my sanity I printed it on regular paper and trimmed up the sides.
After you've printed and trimmed, glue....


...stick the strip on your index card....


...cut between each blend...
And there you have it!  


How we played:

We played the exact same way that we would have played the original Candy Land game but with one added step.  Each time we picked a card we came up with a word for the consonant blend that was on the card before moving ahead.  For example, if I picked "dr" with one yellow square,  my word was "draw" and I advanced to the next yellow square.  If AG picked a double blue with "st" on the card, her word was "star" and she would advance two blue squares.

And thats really all there is to it. Easy way to practice consonant blends and have fun at the same time!


Wednesday, September 10, 2014

Magical Mask Making: Part Two


Last week we began learning about Ancient China in our Oak Meadow Curriculum!  We were instructed to make a mask similar to those used in Chinese festivals and now that our mask is done, it's time to decorate!  If you missed last weeks mask making post, you can find it HERE.

I let AG pick out the supplies to decorate her mask with.  I'm not so sure that the Ancient Chinese would have picked the same.   
AG began decorating by painting her entire mask with acrylic paints.  After the paint had dried,  she instructed me as to where she wanted her gems and feathers and I hot glued them onto the mask for her. 


Monday, September 8, 2014

Ant Farm in a Mason Jar


What you will need:

  • Two mason jars, one small enough to fit inside the other. 
  • About 2 cups of sand or soil 
  • Ants 
Directions:


Place the small mason jar inside of the large mason jar upside down or with the lid on.  This will force the ants to tunnel along the outside of the jar and allow you to see their paths! 

Once you have placed the smaller jar inside the larger jar, fill around it with sand just until the top of the smaller jar is covered.  
Search for ants!  From what I've read online it is important to collect ants from the same area because ants from different colonies will fight with each other.  I am defiantly not an ant expert and do not know if this is true, but we did our best to collect ants that were in the same area.  
Hard to see, but we did manage to collect a few! 
Once you have collected your ants, carefully place them in your farm.  This was a little tricky and we did end up losing a few so you should probably do this step outside.  Cover the jar with a piece of fabric and screw on the lid or use the lid of the mason jar, just make sure you poke some holes so the ants can get air!  Once your ants are in their farm, feed them once a week by dropping a few drops of sugar water on the top of the sand/soil!  If you aren't able to make an ant farm, there are plenty online that you can order, although I found them to be a little expensive.  

Have fun!  

Wednesday, September 3, 2014

Magical Mask Making: Part One


We had the best time this week making a plaster mask which was something I hadn't even done before! It was such an easy process and something I don't think I would have thought to do had it not been for our super creative Oak Meadow curriculum nudging us along!  Here is how you can make it at home:

What you will need:

  • Plaster cloth wrap.  We found ours at Hobby Lobby for 8.99 with a 40% off coupon and we had enough left over to make at least 10 more masks.  Well worth the money! 
  • Vaseline
  • Paint, feathers, gems, anything your little one might like to decorate their mask with once it is dry.
  • Hot glue gun 

Here is how you make it:

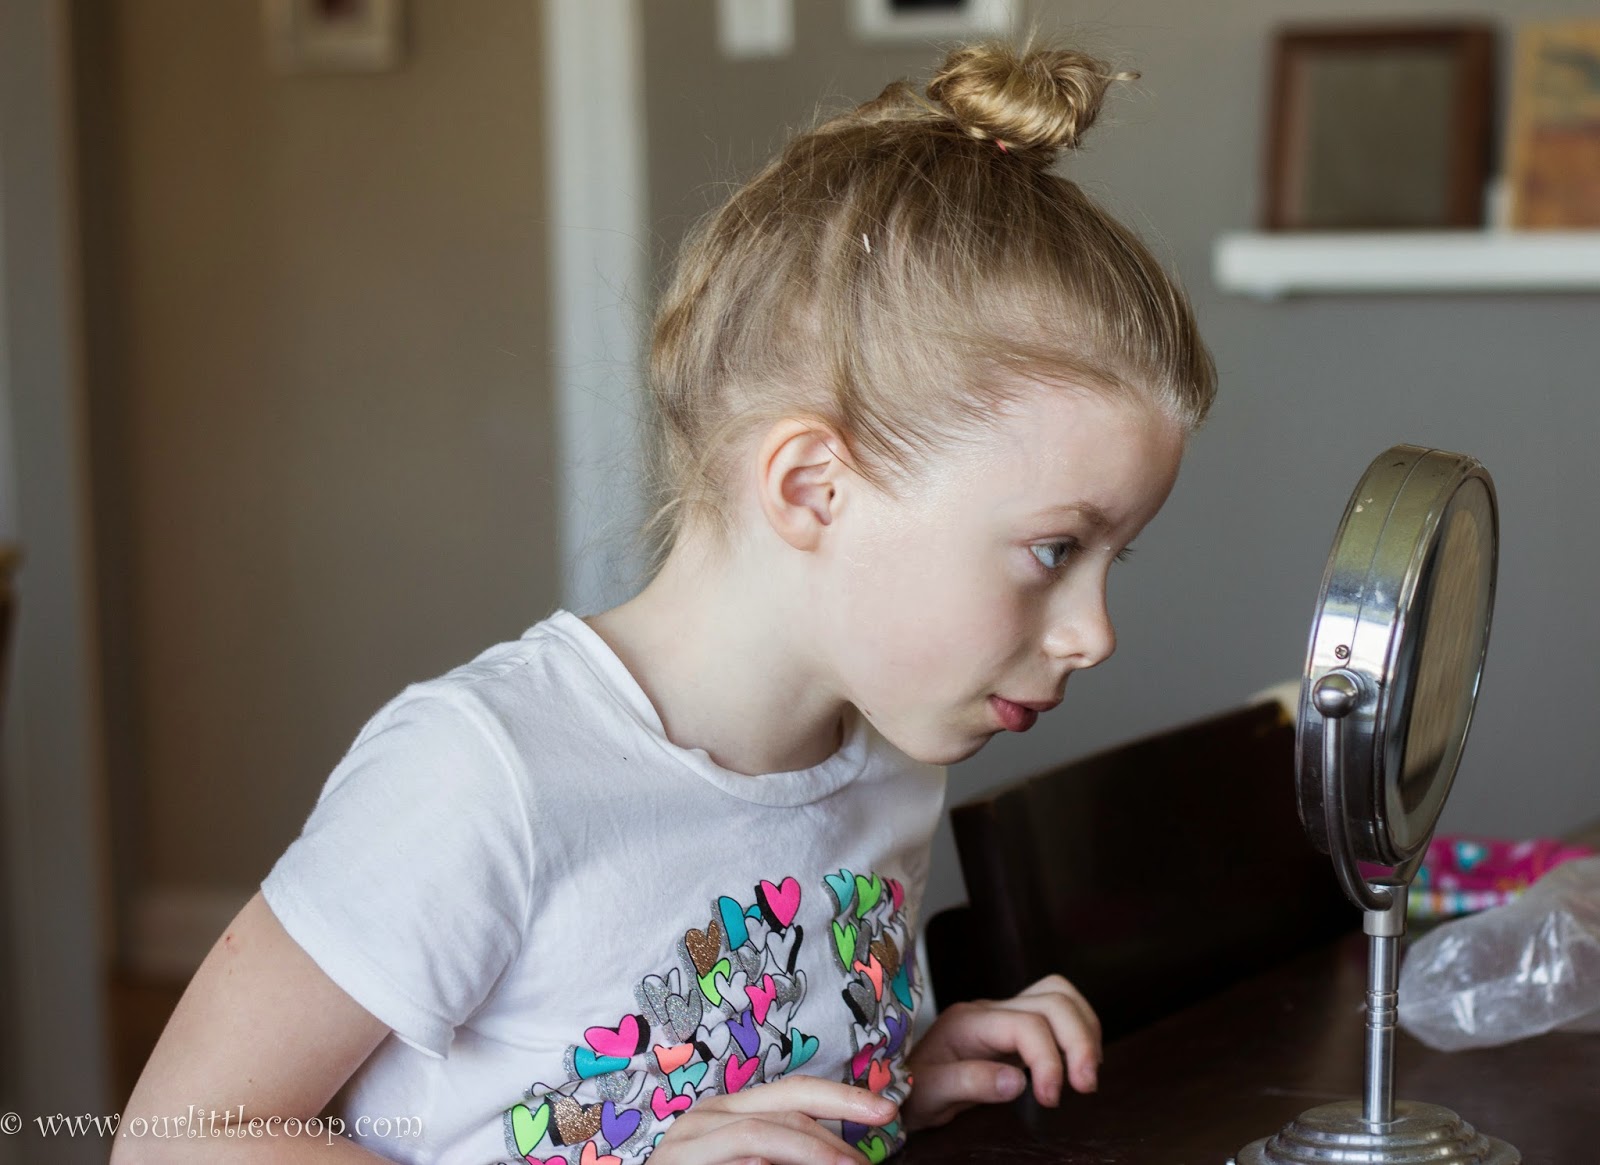
Tightly pull back all hair and liberally apply vaseline to the entire face taking extra care around the hairline and eyebrows.  This prevents the plaster from sticking to the child's face once it has hardened (we had absolutely no issues getting it off).

Cut your plaster cloth into strips of various sizes.  I found that it was easier to cut them as we went along.  Dip your cloth into a warm bowl of water and place on your child's face.  

Cover your child's entire face except for their eyes (in some cases nose) and mouth.  Allow the mask to sit for about 15 minutes so that it hardens.  You will be able to feel the mask and tell when it is about done.  At that point tell your child to make funny faces and with a little tug,  the mask will pop right off.

The inside of our mask was not entirely dry so we placed it in the toaster oven on "warm" for about a twenty minutes.  

Now is the fun part!  Time to decorate!!

CLICK HERE TO SEE THE FINISHED PRODUCT! 


Tuesday, September 2, 2014

Travel Tangram in a Tin


This week in our Oak Meadow second grade curriculum, we learned about Tangrams, a seven piece square that can be rearranged into thousands of shapes!  We had so much fun with the Tangram that was provided to us in our Oak Meadow curriculum that we decided to make our very own teeny tiny Tangram to take with us in the car! Here's how you can make yours at home.


What you will need:

  • The following printables.  Please note that I resized these before printing and they may need to be resized on your end as well in order to fit the box that you are using.  
1. "Tangram Puzzle" Printable 
2. Tangram Printable
3. Tangram Diagram Printable
  • An empty Altoids tin 
  • A sheet of magnetic contact paper (can be found at Walmart, made by Avery)
  • Mod Podge 
  • Hobby knife
Directions:

Peel the backing off of the magnetic paper 

Stick the Tangram printable to the back of the magnetic sheet and trim the sides.  

Carefully cut along the edges of the shapes within the Tangram. 

I found that you don't have to cut all of the way through the magnet.  Just a light knick and the magnet will bend and snap.  


Brush the inside bottom of the tin with Mod Podge and stick the diagram printable to the bottom.  Apply another coat of Mod Podge over the top of the diagram printable to.

Brush the top of the tin with Mod Podge and lay the "Tangram Puzzle" printable on top.  Apply another coat of Mod Podge over the top to seal. 

When the Mod Podge has dried, your Travel Tangram is ready to use!  


Monday, September 1, 2014

Word Families / Onset and Rime Paint Chip Sliders


Now that we are homeschooling, I try to do everything possible to find exciting ways to teach the kids things that might normally be kind of a bore.  This week AG is reviewing her Oak Meadow word families from the first grade curriculum, so I decided to make some fun (and colorful) sliders for her to review with.  

What you will need:
  • Paint chips found at any store that sells paint.  You will need large chips displaying only one color and the long strips that display multiple colors.  The large chips will be for the "onsets" and the long strip will be for the "rimes."
  • A large square paper puncher or you can do what I did and make a template and cut the squares using a hobby knife.  
  • A black permanent marker. 

Directions:
There really isn't a whole lot to this DIY project.  All you really need to do is make sure that you have a square cut large enough on your "onset" paint chip to display your "rime" paint chip.   Decide how big your hole needs to be, cut or punch (again, I cut by making a template from one of the "rime" chips), and write your onset and rimes accordingly!

For the Oak Meadow first grade curriculum, you will need the following twenty-one word families:

  • ad
  • ag
  • an
  • ap
  • ar
  • at
  • aw
  • ay
  • ed
  • et
  • id
  • ig
  • ill
  • in 
  • ip
  • it 
  • go
  • ot
  • ow
  • ug
  • ut


I copied the pages out of the Oak Meadow "Word Families" book so that AG could use the sliders side by side with the story.

Wednesday, May 7, 2014

Tiny Blue Surpise!


Last fall we had a broody hen who decided that she was going to sit on a pile of eggs. We accidentally ended up with an EE Roo and we thought it would be fun to let the hen hatch them out and see what we ended up with (I'm sure this is against chicken breeding protocol, but hey.....). Two of the chicks that hatched grew up to be unusually small and had many characteristics of our Seramas.  Yesterday it was confirmed when I discovered a tiny blue egg in the egg box!!! The EESerama egg is on the left and puts my EE blue egg to shame!! What a gem! 

Monday, April 7, 2014

Low-Cal Chocolate Peanut Butter Cookie Batter Shake


1 cup of unsweetened almond milk
4 tablespoons of Truvia 
1/4 cup of pumpkin purée
1/4 cup cocoa powder
Splash of caramel extract (optional)
1/2 ice 

Blend all of the ingredients in a blender and enjoy! 

This shake has approximately 150 calories......for the ENTIRE shake! Very low sugar, no guilt here! 

Saturday, April 5, 2014

Farmhouse 38 "Hello Spring Giveaway"


Kate, over at Farmhouse 38 is hosting a pretty awesome Spring giveaway!  Enter HERE for your chance to win these awesome goodies:

  • 6 Month Seeds of the Month Subscription 
  • A Sampler Pack of Authentic Haven Brand Manure Tea 
  • A Copy of "Vertical Vegetable Gardening"
  • A Hand-Painted Reclaimed Steel Message Board 
  • Garden Themed Magnets 
  • William Sonoma Seed Packs 
  • Garden Gnome and Garden Gloves from Threshold Target 
  • William Sonoma Copper Garden Tools 
  • William Sonoma Egg Gathering Baskey 

Giveaway ends Wedensday, April 9th at Midnight! 

Saturday, March 29, 2014

Thinning Out Tomato Seedlings


Even though winter won't completely loosen its grip on us in the Midwest, Spring is in the air!  I have somewhat of a schedule that I follow every year when it comes to starting my seeds, and this year has been a little different. Sprouting seeds requires a little warmer temperature then I am able to provide out in my greenhouse, so I typically start them off inside in a mini greenhouse setup that I have by a south facing window.  Once the seeds have germinated, I usually wait until the seedlings get their second set of leaves before moving them out into the greenhouse.  This year however has been a little challenging.  The lack of sunlight inside has been causing some of my plants to become leggy.  Fortunately it is very difficult to kill a tomato plant so I have been putting my seedlings out in the greenhouse under the grow lights a little sooner than I normally would and they have been doing fine.    The joys of gardening... 

I decided to snap a few pictures as I relocated one of the tomato flats and my thinning process in hopes it may help someone out.

Tomato seedlings that need to be separated. 

With a bbq skewer, lightly lift up from the bottom to loosen the cell a little. 

Make a new hole for you relocated tomato seedling.

When handling tomato seedlings, do so by the first set of leaves to grow.
The plant will eventually lose these anyways. 

Place tomato seedling into its own cell. 


Lightly fill in the hole with your mix. 

Water in the tomato seedlings to ensure the growing mix fills in around
the roots.

Do not let your tomato plants get to large of a root ball.  Try to be a step
ahead and replant into larger containers or outside before
they completely fill out the containers they are in.

Let me know how your seedling are doing this year or if you had to make any changes due to the weather.  If you have any questions, feel free to also post those below in the comment section and someone will help you out.

Cheers! ~ Kevin

Other Posts You May Like