I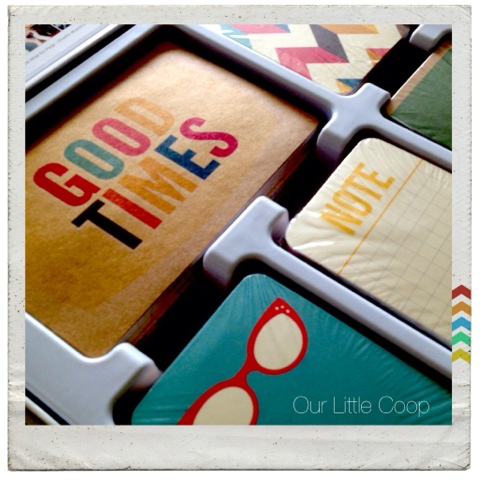
Last month, as I sat in my living room sifting through all of the digital pictures that I had taken over the years, sheer panic hit me.
Sheer panic. I was buried under a digital mountain of over 100,000 (yes, you read that correctly) pictures and I had absolutely no idea where to start or what to do with them. What was the point having all of these photos on my computer that no one has even laid eyes upon and more importantly, what am I going to do with all of them!?!? Enough was enough. I decided to pick a starting point, suck it up and start getting these pictures off of my computer and into albums. I began editing pictures and printing them...thousands and THOUSANDS of pictures. My eyes were crossing. I was printing them all, the good, the bad and the ugly. At this point I couldn't even differentiate between the three and I really don't even know that I cared. I picked out albums, the boxes of pictures started arriving at my front door and I began filling my albums. I felt accomplished. Finally I felt like I had done something with these pieces of my life. The next time my mom came over I showed her one of my albums. As she flipped through the pages looking at my pictures I watched her face glaze over with boredom. Oh my God, I had failed. I had failed to do the only thing that I had set out to do, share my story. My family's story is exciting, it is comical, emotional, beautiful and at times, a bit insane but it is nowhere near BORING! There had to be a better way....
That night the stars aligned and I stumbled onto
Becky Higgins website.
Becky Higgins, a busy mother with a passion for capturing the little bits of life is the creator of Project Life (from her website) "a solution-based approach to scrapbooking that was created to simplify the process in order to allow you more time to enjoy life! It requires no glue, no scissors, no tools, and no skills of any kind. The design of our products takes the guess work out of layout design so that you can focus on recording your everyday moments through your photos and journaling." After spending just a few minutes flipping through her website I fell in love with her products and knew instantly that I had FINALLY found the solution. For those interested, here is the link to her "Getting Started" which explains everything you need to know to start your Project Life album. It's easy! And the end result is something you will be proud of!
 So after becoming slightly obsessed with this product, I went to Hobby Lobby and picked up my first core kit. I have spent the last few weeks frequenting Michael's and Hobby Lobby, stocking up on Project Life goodies to start my albums. Both stores offer coupons on their phone apps, usually for a discounted amount of 40% and to date I have not paid full price for my supplies. I also joined the Facebook (support)group Project Life 2013 where other Project Life users share their tips and pages. I have spent a lot of time annoying the members with my questions but thankfully everyone has responded graciously and have helped me tremendously through the getting started process. But how was I going to get started? With over 100,000 pictures and eight years of life, where do I even start? This was one one of the questions I took to the members of the board and patiently waited for the responses to come in. Almost all of the ladies suggested that I start with the past week and work my way back, but to make sure that I stay current and record the memories that were happening NOW. I have to say I was a little bothered by this advice at first. I kind of felt like saying "I have 100,000 pictures of life that I have to get caught up on! How in the world should I just stay focused on the past week?!" But as I gave this concept some more thought, these ladies had given me the most amazing advice yet. I have been so focused on getting caught up with these pictures taken so far in the past, I was not recording the precious moments that were happening in my life now. The little things my kids were saying, the little things that we were doing, the little moments that we were sharing. They were all little things and as each week passed I was forgetting and essentially losing these memories. We all know that the little things amount to be the biggest things that in the end matter the most. So it begins. Project Life, Project Now.

Follow my blog with Bloglovin


-2.jpg)