Showing posts with label Winter Crafts. Show all posts

Tuesday, March 17, 2015

Pumpkin Bird Feeders


We had one itty bitty pumpkin left from last years garden and we finally decided to gut it so that we could save the seeds to plant next year.  Instead of throwing out the shell, we made these simple little pumpkin bird feeders! Here's what you will need to make them.
  • A pumpkin, orange, grapefruit, et. cut in half and cleaned out. 
  • Two wooden skewers 
  • Twine 
  • Bird seed

  1. Pierce the skewer through one side of the pumpkin into the other, one on top of the other. 
  2. Tie the twine on one of the skewers, opposite sides of each other. 
  3. Fill with bird seed and hang! 


Saturday, January 11, 2014

I'm Inside a Snow Globe!


Forty-five degree wind chills and a sick momma meant a long week spent inside.  A little disappointing since the majority of our science lesson this week was to go on a nature walk and explore the different kinds of trees in our area.  Since spending time outdoors this week was scratched, I thought what better way to connect the kids with the different trees outside than to bring them in? Why not create a snow globe using tree clippings found in our backyard....starring them!  I quickly ran outside and snipped a few small branches off of the different evergreens that we had in our back yard, threw a hat on AG, took a quick picture and we put together this awesome "I'm Inside a Snow Globe!" project and were able to explore the different kinds of trees without having to brave the frigid temperatures outdoors.


What you will need:
  • A mason jar, preferably with a wide mouth 
  • A picture of your child, cut out 
  • Tree clippings from outside 
  • Glitter! 
  • Hot glue gun 
Directions: 
  1. Glue your child's picture to the lid of the mason jar. 
  2. Fill the mason jar to the top with water.
  3. Add glitter, tree clippings and anything else you would like. 
  4. Slip the picture through the opening and screw closed. 
  5. Shake! and enjoy.

Winter Sun Catchers


What you'll need:
  • Leaves, tree clippings, berries, acorns, etc. 
  • A pie tin
  • Water 
  • A piece of twine
  • Freezing temps!


How to make them:

Fill a pie tin with water and have your children add whatever they would like to decorate their sun catchers with. Lay a piece of twine in the water and leave enough to hang over the edge.  Stick your sun catcher somewhere where it's cold and allow to freeze. 
Hang your sun catcher in a sunny, cold place and enjoy :)


Cookie Cutter Bird Feeders

Photo Credit: South Dakota Wedding Style 

What you will need :
  • 2 cups of birdseed
  • 1/2 cup of water
  • 2 envelopes of unflavored gelatin
  • Wax paper
  • Cookie sheet
  • Straws
  • Twine
How to make them:
Add both packages of gelatin to a small pot and boil until the gelatin is dissolved. Allow to cool and pour into a large bowl. 
Add your birdseed into the bowl and using your hands, mix the birdseed and gelatin together.

Place your cookie cutters on a cookie sheet lined with wax paper, scoop your birdseed mixture into your cookie cutters.   Push your straw through the mixture to create a hole for your twine. 
Allow your bird feeders to dry overnight. 
Once the bird feeders are dry, string twine through the hole and hang outside !
(Photo Credit South Dakota Wedding Style )

Tuesday, January 7, 2014

Origami Window Stars

How to make: Origami Window Stars, origami project, kids
How to make: Origami Window Stars 
This is a project that is better spoken and taught through photos. The end result is just beautiful.  

How to make: Origami Window Stars, origami project, kids


How to make Origami Window Stars, origami project, kids, paper


How to make Origami Window Stars, origami project, kids, paper


Paper Roll Poinsettias


One of my favorite discoveries of the week was finding the blog The Crafty Crow.  How is it that I am just now discovering this blog? Hundreds of amazing craft ideas for the kids that will keep them busy until they're too old to want to do them! To continue on with our study of winter, AG and I decided to craft up these super easy Paper Roll Poinsettias to add to her nature corner! Here's how we made them.

What you will need:
  • Round coffee filters 
  • Red acrylic paint 
  • A paintbrush 
  • Cardboard toilet paper or paper towel rolls
  • Scissors 
  • Glue (You will see that I used a hot glue gun. This will work too.  I only went this route because we were out of glue!
  • String to hang 
How to make them:
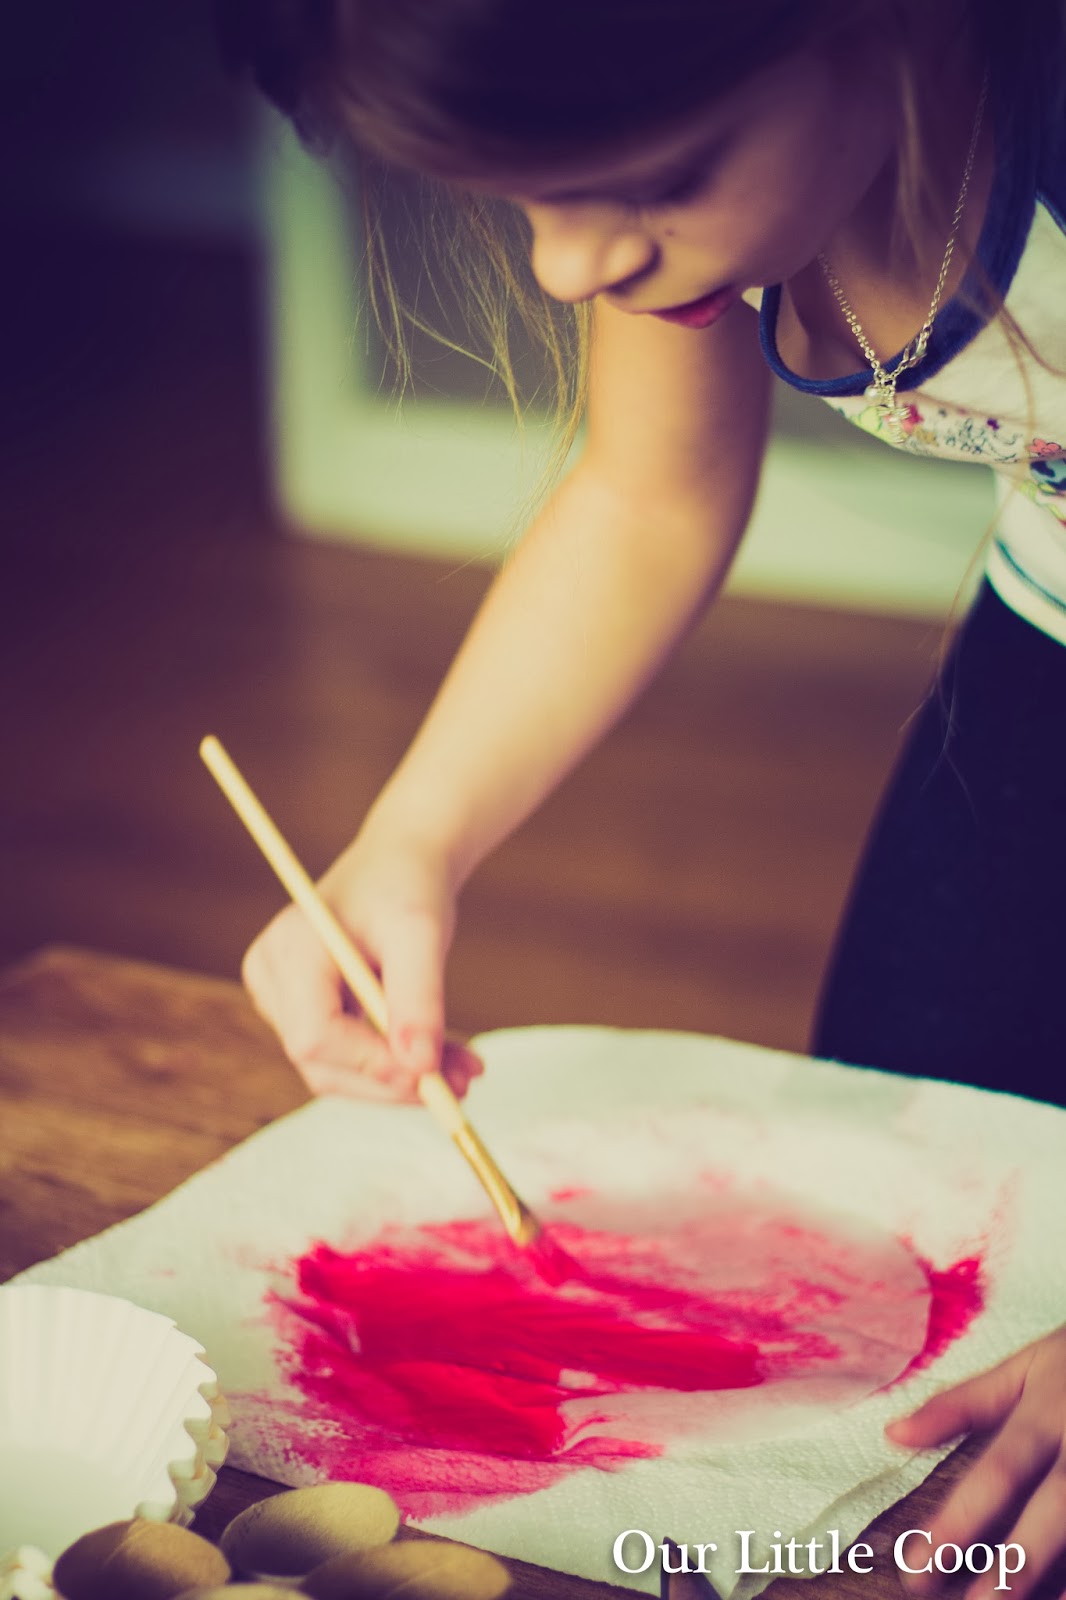
  1. Start by painting your coffee filters red.  Because you want the filters to be somewhat transparent, we dipped the filters in water, wet our brushes and then painted the filters. We used two filters for three flowers just to give you an idea of how many to paint.  Set aside and allow to dry.
  2. Next, paint the inside and outside of your cardboard rolls red.  Start by cutting them in half so that it is easier to reach the inside the tubes.  Once they are painted set them aside and allow to dry. 

  3. Once your painted filters and cardboard rolls are dry, press the cardboard rolls flat and cut them  into half inch slices. 
  4. Dip the cardboard slices in glue and stick them to the coffee filters.  Once they have dried, cut them out trimming away all extra paper. 

  5. Glue the slices (petals) together! Again, I used a hot glue gun so this process went rather quickly.  If you do use glue, you might need to use clothespins to keep the petals together while they dry.

  6. Thread fishing line or thread through the back of one of the petals and you're all set to hang!  

Friday, January 3, 2014

Colored Ice Eggs


This is an incredibly easy and quick project to do when it's COLD outside! We only had blue, red and yellow food coloring and mixed them in different colored balloons so opening the balloons was a surprise.  Somehow we managed to mix every color of the rainbow.

What you will need:

  • balloons 
  • food coloring 
  • freezing temps
What to do:
  1. Put a few drops of food coloring inside the opening of your balloon, fill with water, tie closed and shake to mix the color.  
  2. Place the balloons outside for a least 24 hours to freeze.
  3. Using scissors, cut off the top of the balloon off and peel it back to reveal your beautiful ice eggs!

Our Homeschool Week In Review: Week One


This week was our first week using the Oak Meadow first grade curriculum.  Because we are starting midyear we had to jump around a bit. Just for reference we covered Lesson 1 for circle time, language arts, mathematics, social studies, music and crafts and Lesson 13 for science. We focused a lot on winter and snow this week which was perfect timing after getting over a foot of snow! Autumn said that she "loved" the curriculum which was reassuring.   :)

Here is our week in review:

 This week we were blessed with an almost 50 degree day so the kids and I decided to take a quick nature walk in the back of our house to gather items for AG's seasonal table.  As you can see that quickly turned into mountain climbing and very few items were collected.  
AG setting up her winter seasonal table (Oak Meadow Curriculum).
 Paper snowflakes (Oak Meadow Curriculum)
The winter seasonal table (Oak Meadow Curriculum).
We decided that AG's seasonal table needed a little more color. 
DAY ONE: Waldorf inspired monthly acorn calendar. CLICK HERE for more information.  
Freezing cold temps and over a foot of snow = lots of winter inspired crafts this week.  I love the way these beautiful Ice Eggs turned out.  CLICK HERE for more information.  
Pumpkin bird feeders.  CLICK HERE for more information. 
We made Sparkly Snow Playdough to compliment our study of snow and winter.   CLICK HERE for more information and the recipe.  
AG practicing her recorder (Oak Meadow Curriculum)

Planting and watering our microgreens.  We planted basil, cilantro, rainbow beets and carrots.  CLICK HERE for more information. 
I can't believe that this was the very first time that we have ever made bread.  It was so EASY! CLICK HERE for recipe.
The Four Processes of Math (Oak Meadow Curriculum)
This is an AWESOME website where you can download beginner phonic books totally FREE with zero commitment. The books can be printed or used on your handheld devices.
CLICK HERE to get yours! 
Oak Meadow Curriculum

Additional resources we found helpful:

Snowflakes and Snow:


Wednesday, January 1, 2014

Sparkly Snow Playdough


We have been making our own playdough for a little over a year now and I think it's safe to say that we have nailed down the perfect recipe.  It's smooth and creamy, the kids love playing with it and it last far beyond the point that we need it to (you know, when the mixing of colors gets way too out of control).  So this week we decided to make Sparkly Snow Playdough to compliment our study of winter and snow. 


What you will need:

  • 1 cup of flour
  • 1 cup of water 
  • 1/4 cup of salt 
  • 3-4 TBS of cooking oil 
  • glitter 

Directions:

  1. Mix your flour, water, salt and oil in a medium pan on medium heat.  Stir continuously until the playdough begins to cook.  Don't over cook or it will dry out, don't undercook or it will be sticky.  There seems to be a science to this. 
  2. Once the playdough is done, remove from heat, allow to cool, and knead in as much or little glitter as your heart desires. 
  3. Enjoy!  


Other Posts You May Like