 |
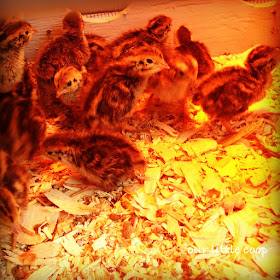
| 1 week old Coturnix quail chicks |
Poultry chicks, regardless of species or breed, are extremely cute and very hard to pass up to a family just getting started in backyard poultry keeping, especially if on a whim.
Sometimes poor planning gets the best of us and we start this great and wonderful hobby not by planning first, but with the chicks! Either the kids bring a few home from school, a friend had a better hatch than expected and decides to pawn a few cute little babies off on you, or maybe Tractor Supply is conveniently having their annual "Chick Days" while you just so happen to be there picking up dog food, you will suddenly find yourself scrambling to gather the necessary supplies and equipment needed.
After the first 24 hours of life, it is critical that a chick is eating food and drinking water. Although offering food is a simple thing to figure out, or can even be sprinkled on the floor, providing water in a safe manner can get a little hairy. I have read horror stories from folks who thought they had no other alternative than to leave a bowl of water with the chicks, later to find one had drown.
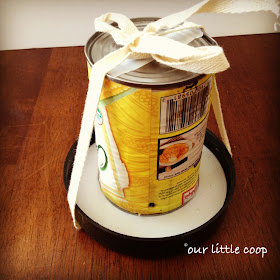
*While providing water for your newly hatched babies, it is always best to use some kind of recommended waterer. If you find yourself in a jam, you can quickly improvise with a soup can, plastic lid and a piece of heavy string.
 |
| Materials you will need to make this waterer |
Materials/Tools needed:
- 1 Soup can
- 1 Plastic lid (slightly larger in diameter than the soup can)
- 1 piece of string
- Scratch awl or power drill with small sized drill bit
 |
| Location of holes to be made |
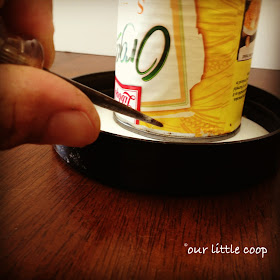
Mark the approximate height on can, with open side facing down, equal to half the height of the sides on lid. This mark will be the height in which you want your water level at.
 |
| Keep your holes slightly below the sides on the lid |
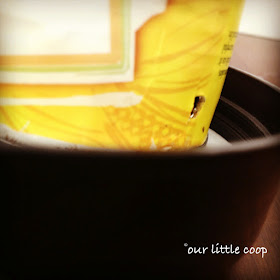
Carefully punch or drill 2 holes across from each other at the height you previously marked making sure you do not have your hand on the opposite side you will be making your holes, as you can cause injury to yourself.
 |
| Fill with fresh water |
Fill the can with water just below the holes you have just made, and firmly hold the lid over the top on the can. Quickly while holding the lid in place, flip the can over, tightly tie a string around both and you are done!
 |
| Finished chick water ready for the brooder! |
Cheers! ~ Kevin
*****Please Subscribe, comment and share!*****

No comments:
Post a Comment
Thank you for your comment!